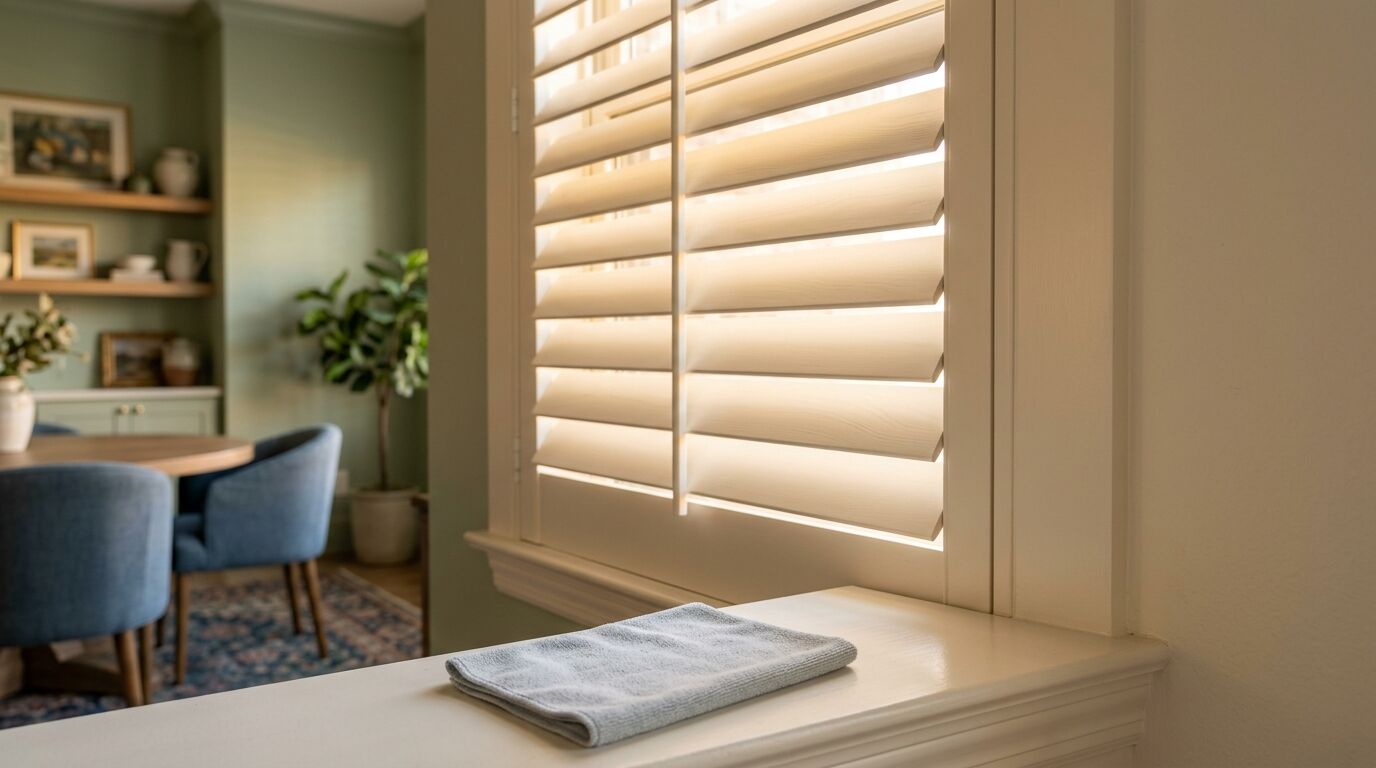
Most of the window coverings I get called out to look at are dirty in a completely ordinary way. The ones that are actually damaged were nearly always damaged during a cleaning. Dust is the easy part. The trouble starts on the day somebody decides to give everything a proper going over and reaches for a spray bottle, a melamine sponge or the bathtub. Here is what each material will take, and what will cost you a panel.
- Dust lightly and often. Every material on this list is happy with a dry microfibre cloth or a vacuum brush, and doing that regularly means you never need the harsh clean.
- A vacuum with the soft brush attachment on its lowest suction is the safest single tool in the house for window coverings.
- Poly shutters and faux wood blinds handle a damp cloth. Hardwood shutters and real wood blinds want to stay dry.
- Never submerge anything. Water gets into cells, cords, headrails and mechanisms that cannot be dried out.
- Woven wood shades are vacuum only. Water marks the natural fibres and there is no fixing it afterward.
- No melamine sponges, no bleach, no ammonia, no silicone polish, no steam.
- Check a roller shade fabric before you touch it with water. Vinyl and solar screen wipe down. Decorative woven fabric does not.
- Clean the moving parts too. Grit in a tilt mechanism or a cord lock is what stops a blind working long before the slats wear out.
Dusting Often Is the Whole Job
If you do one thing, do this one. A light dust every week or two, on the same round as everything else in the house, keeps dust from bonding into a film. Once that film forms you need moisture and pressure to shift it, and moisture and pressure are exactly what damage window coverings.
Work top to bottom so you are not dropping dust onto surfaces you already did. On louvers and slats, run along each one rather than across the stack. A vacuum with the soft brush attachment, set to the lowest suction it has, does more good here than any cleaning product.
Shutters: Poly and Hardwood Are Two Different Jobs
Poly and composite shutters are the forgiving ones. The material was built to live in a bathroom, so a cloth wrung out in warm water with a drop of mild dish soap is fine. Wipe the louver flat, then run a dry cloth behind you.
Hardwood shutters are a painted or stained wood surface and should be dusted dry as the default. If something sticky needs lifting, the cloth wants to be barely damp, almost dry to the touch, and the louver gets dried straight away. Wood that takes on moisture and then dries out again can swell at the joints and lift the finish, and that damage does not come out.
Either way, support the louver as you wipe it so you are not pushing against the tilt pin. If you are still deciding which material belongs in which room, we walked through that in poly versus hardwood shutters room by room.
Blinds: Slat by Slat, and Not in the Bathtub
Tilt the slats closed one direction, wipe or vacuum the face that is showing, then tilt them closed the other direction and do the backs. Faux wood takes a damp cloth without complaint. Real wood gets the dry cloth, and if you use a wood cleaner it goes onto the cloth, never sprayed at the blind.
The advice you will find about taking the whole blind down and soaking it in the tub is where good blinds go to die. The slats might survive it. The headrail carries a cord lock, a tilt mechanism and the ladder tapes that hold everything in position, and none of that is designed to be flooded. Blinds that stop raising evenly after a deep clean usually stopped for that reason.
Ultrasonic cleaning gets suggested too. Manufacturers generally warn against it for wood and faux wood blinds, so treat it as a way to lose a warranty rather than a shortcut.
Shades: Cellular, Roller and Woven Wood
Cellular and pleated shades. Lower the shade fully, then vacuum with the brush attachment on the lowest setting, moving along the pleats rather than against them. Higher suction pulls the pleat out of shape and it stays that way. For a mark, blot with a barely damp cloth and a little mild soap, and let it dry lowered. Never soak one. The cells are formed and bonded, and water that gets inside a cell has nowhere to go. The same trapped air that makes cellular shades insulate a window is what makes them impossible to dry out from the inside.
Roller shades. Work out what the fabric is first. Vinyl and solar screen feel slick and will take a wipe with warm soapy water. Decorative woven fabrics get dusted only. Whatever you do, lower the shade all the way, clean from the top down, and leave it lowered until it is bone dry. Rolling damp fabric onto the tube leaves a mark across the width that does not come out.
Woven wood shades. Vacuum, and stop there. These are natural reeds, grasses and wood strips woven together, and water stains them unevenly and can distort the weave. If a stain has already happened, a liner or a replacement panel is a more honest answer than scrubbing.
Drapery Wants a Vacuum, Not a Wash Cycle
Custom panels do best with a vacuum on reduced suction, two or three times a year, working from the heading down. Most lined and interlined drapery is dry clean only, and blackout linings and coated backings are the ones that get ruined in a machine. Read the care label before anything wetter than a vacuum comes near it.
Sun is the slower problem. Fibres exposed to direct light weaken over the years, and North Texas afternoon sun is unkind to fabric. A shade or a shutter behind the panels does more to protect drapery than any cleaning routine.
The Five Things That Cause Real Damage
Melamine sponges. They feel soft and behave like extremely fine sandpaper. On a painted shutter or a faux wood slat they take the mark off by taking a layer of finish with it, leaving a dull patch that shows in raking light.
Bleach and ammonia. Both discolour fabric and both attack finishes. Glass cleaner counts here, and it is the most common thing people reach for.
Silicone and oil based polishes. They leave a film that collects dust faster than before and complicates any future refinishing.
Too much water. A dripping cloth on any window covering finds the joints, the cords and the headrail. Wring it out until you would be happy putting it in your pocket.
Steam and pressure. Steam cleaners force moisture into places a cloth never reaches, and pressure bends slats and pops louver pins.
Clean the Parts That Move
Surfaces get all the attention and mechanisms do all the failing. Run the vacuum along the top of a headrail and into the ends where the cord lock or the clutch sits. On shutters, keep dust out of the hinge knuckles and off the tilt rod. On motorised shades, keep the bottom rail and any side channels clear so nothing binds on the way up.
Skip the household oil. Heavy lubricants collect dust, and they can run down onto a panel and stain it. A shutter hinge that has started to complain is usually telling you something has shifted, which is worth a look rather than a spray.
When to Stop Cleaning and Call
A slat that will not tilt, a shade that comes down crooked, a shutter panel that has dropped against its frame: none of those are cleaning problems, and cleaning harder makes them worse. We repair shutters and shades wherever we can, including ones that came from somewhere else years ago, and if a part cannot be repaired we will match a replacement as closely as the product allows.
If you are not sure what you have or what it will take, ask. You can find more of the questions we get asked most on our window treatment FAQ, or send a photo through the contact page and Sheila will tell you straight whether it is a cloth job or a service call.
See it in your own light.
Every room measures differently. Sheila comes to your home, looks at your actual windows and light, and helps you choose what fits. No showroom pressure, no obligation.
Book a free consultationProduct options, pricing and lead times vary by manufacturer and by window. Details here are general guidance — your in-home consultation is where we confirm what actually fits your home.